
How to Set Up Timelapse Photography
By capturing a series of photos at regular intervals, we can create a captivating video that shows the progress of your project. In this post, we’ll guide you through the process of setting up timelapse photography.
Step 1: Choose the Right Equipment
To get started, we need some essential equipment:
- Camera and Lens: We use a Nikon DSLR camera with manual settings. Make sure it has a durable body and long battery life. We generally use wide-angle lenses which are ideal for capturing large sites even at a close distance.
- Housing: All the equipment is protected from our harsh weather, IP66 rating.
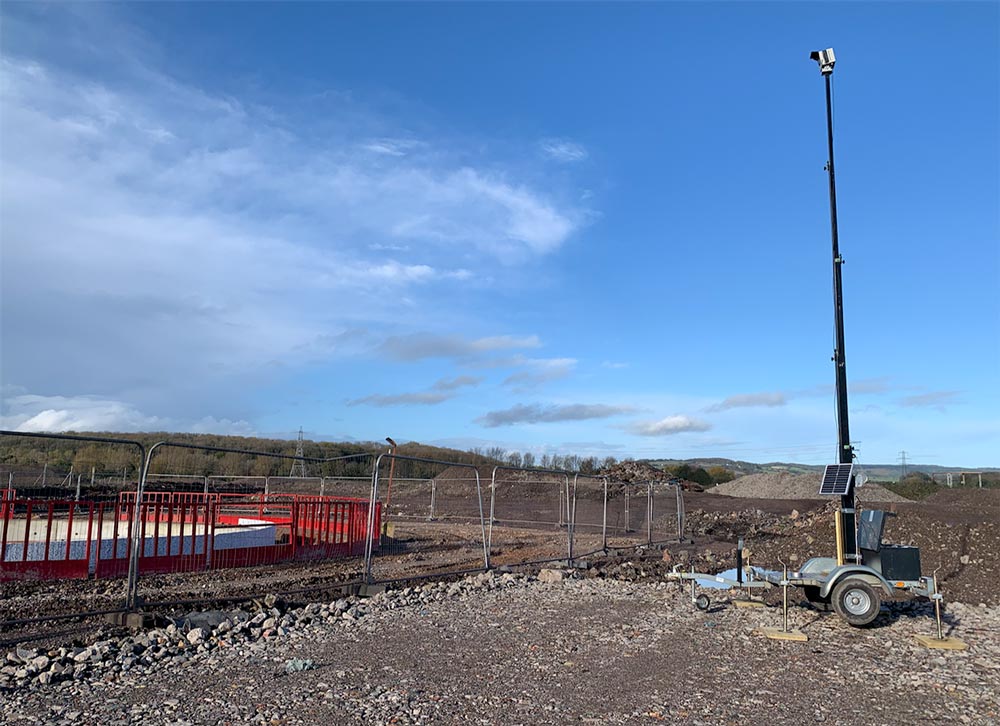
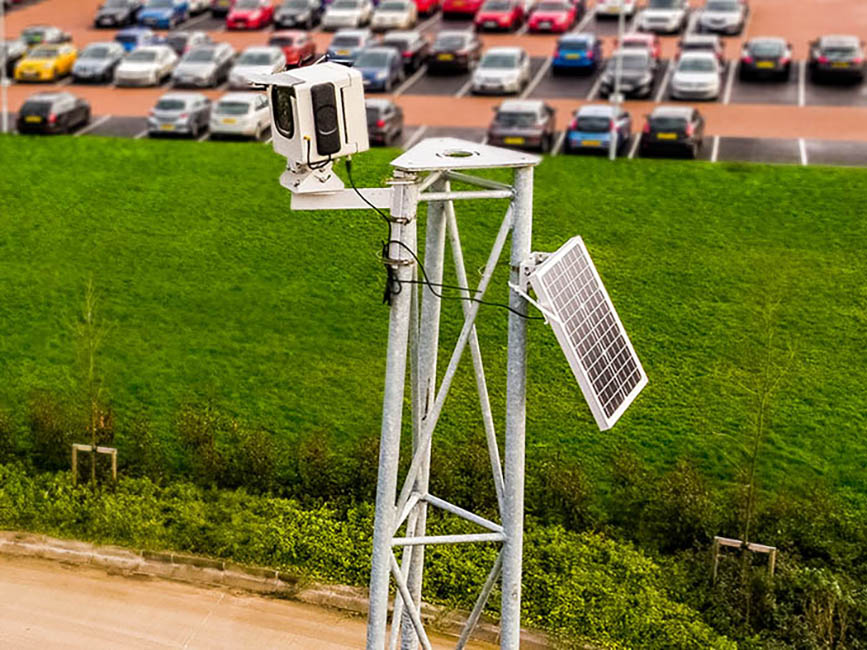
- Tripod: Stability is crucial for timelapse photography, our unit can be mounted on poles, masts, scaffolding, buildings… we also have a trailer mast which can be moved to different locations.
- Intervalometer: This device allows you to set the time interval between each photo. This is our specialised system in-built within the housing. It holds the intervalometer, the 4G sim, the SD card, and even a SSD card for RAW photos.
- Power: Our system is completely off-grid it has withstood harsh low light winters, even by taking photos through the night. It efficiently uses a solar panel, internal battery, and can also be connected to 12V batteries.
Step 2: Composition
We consider the following factors to help you capture engaging timelapse:
- The Interval: depending on how the subject will change over time we decide what is the best interval for each photo. 1min, 5mins, 10mins, 20mins…
- Aperture: We recommend the camera be set manually, manual focus and also a fixed aperture based on the subject, lighting etc…
- Light: A photographer’s ephemeris is a great tool to see where the sun rises and set over time in relation to the subject.
- Location: Finding a safe, elevated spot with no obstacles, as well as no causing issues with the location, construction… and following what point 3 we have is a must.
- Test and revise: Having accessibility to the camera but also a control panel where we can make adjustments is an advantage.